top of page


Pattern v/s Surface
In this module we were introduced to the idea of developability of patters and surfaces using modeling and paneling tools in rhino. The idea of iteration and discovering how the used of different elements of experimentation can bring about an incredible piece of engineering and art. As per the feedback the elevation drawings were processed correctly, with distinction between visible and hidden lines. Information about the variables for all iterations and panels were recorded and labeled more accurately.
assigned piece

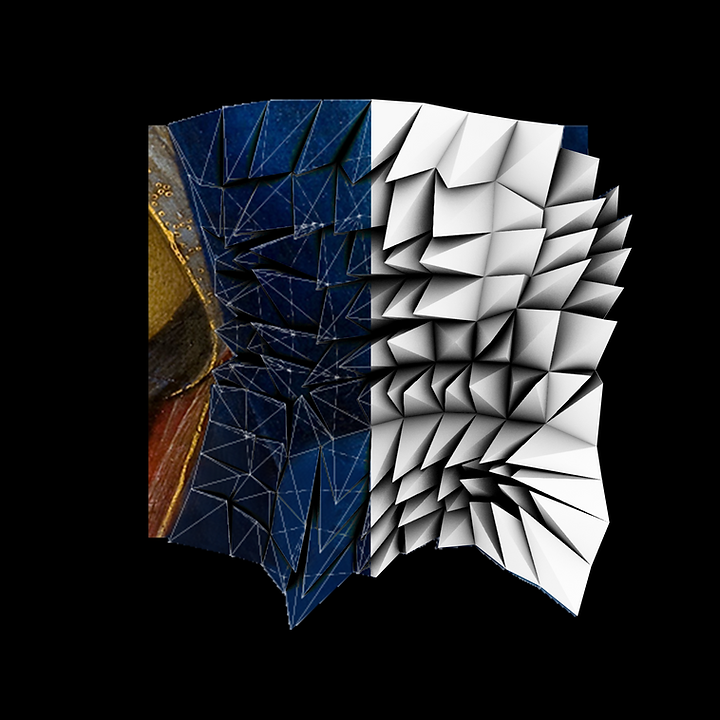
The Painting
Sandro Botticelli, Madonna of the Book, 1480.
Milan, Museo Poldi Pezzoli.
The Tasmanian Landscape
On initial analysis of the Tasmanian landscape, it primarily consists of a major high point/ hump towards the upper right of the surface with also a smaller in width but taller hump towards the bottom center.
Another major feature is the indent hump /low point towards the bottom right. These 3 elements together give the surface quite an inherent variety on its surface itself, like that of a sea wave on the bottom half an island on the top.

Sample study
On initial analysis of the sample, the u-shaped flow is quite prominent. The shadow right above it clearly indicates that this fold is protruding quite a bit in front of the rest of the cloth.
On further inspection 2 other flows reveal themselves on the top right-hand corner and on the bottom left which seem to be part of single piece with one major highlight connecting the two.
These key features together create a multilayer effect on the sample itself leaving more room for imagination for what’s behind the identified flows and folds.

The Making of a New Surface
My primary focus was always to emulate the curves shown in the sample, particularly the major one, which basically took me through this entire module.
I tried to follow through the step using the title of each of the processes, as in stick to only focusing on the distribution of my panels in the panel study, just grid for the grid study and so on.
It was quite interesting how the 2 created the hybrid, took several attempts to get my desired panels and grids but the transition of those two hybrids wasn’t as hard.
And for the artifact sticking with the idea of flow, I chose to reveal the non- blue parts which in itself forms another curve open to the left.

Artefact 1 : analysis and Anatomy
PANEL STUDY

ITERATION 5
Panel Distribution
- Point Attractor :
- 3 objects
GRID STUDY

ITERATION 1
Offset Points
- 4 Curve Attractors
- Min: 10
- Max 59.4
My focus on the panel study was the arrangement of the distribution my 3 panels across the given surface. I stuck to using only 3 primarily because of the nature of my surface.
One for the flows, another for the shadows and the 3rd one to add stability and balance to the other 2 since without the 3rd panel to bring them together to take away from the wave like nature of the original surface.
Here are some trial panels leading to the finals design in the next few slides.
The primary focus of the grid study was to bring about the strong flow of the shadow effect in the middle of the sample, which took only 1 row of bigger panels to accomplish by use of distortion of the bottom panels.
From the 1st trial it was pretty self-evident that to get the required effect while maintaining the flowing nature maximum number of curve attraction had to be used.
Hence the trace curves of the major flows were used , a maximum of 6 - above which the surface looked quite undevelopable.
Here are some trial grids leading to the finals design in the next few slides.
Artifact 2
Artifact 1: Plan View
The hybridization brought together focuses of the panel study, which was the primary flow on the bottom of the sample along with the other minor flows and that of the grid study which was mainly the huge central shadow cast by major flow which took only 1 row of bigger panels to accomplish.
Thus recreating the multilayered effect the original sample i.e. with the major flow in front, its shadow cast right behind and with the other minor flows seemingly behind it.

Artifact 1: Oblique View
Artifact 2: Anatomy


PANEL 2.1
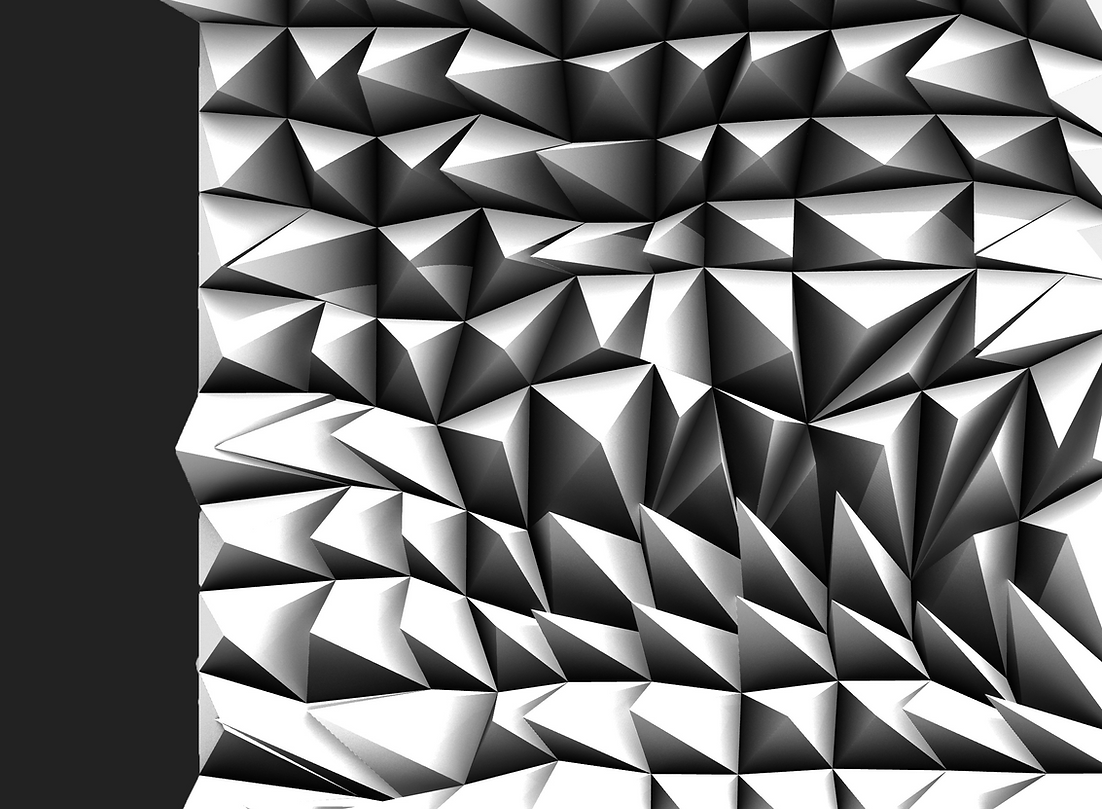
Artifact 3
Artifact 3: Plan View
The artifact, or at least the top view of it, isn’t intended to change much from the original sample but rather enhance its inherent properties, the flows, shadows, and such as explained in the previous pages.
From the curve of the artifact to the top right-hand corner to act as an extension of the minor flow shown in the sample to the humped curve on the top to reflect the 1 highlight of sample.
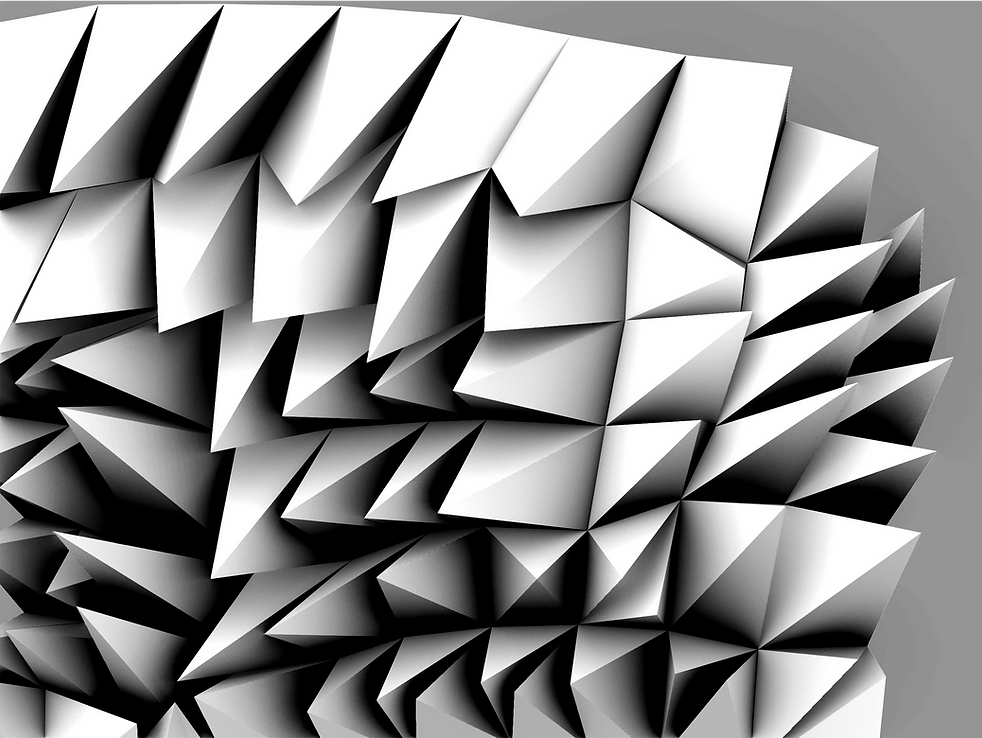
I am particularly satisfied with how the major flow had been emphasized, which had grabbed my attention from me initially receiving the sample. Although the spiky nature of the panels is far from the smooth wavy nature of the surface. The grid and panels for my artifact were sculpted in such a way that it follows the flows of the sample, again creating the “layering” effect of the sample in 3d.

Artifact 3: Oblique View
Artifact 3: Anatomy
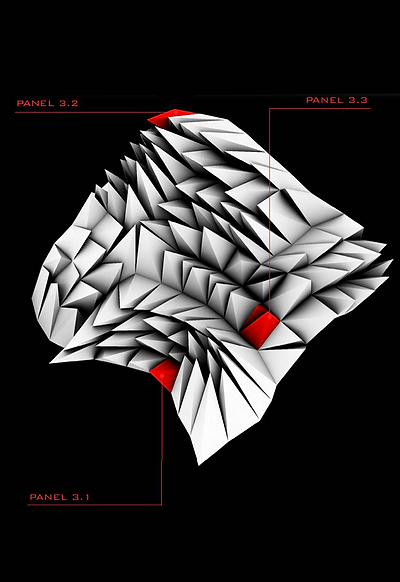


PANEL 3.1
The Final Composite

Prototypes
Artifact 2

ITERATION 1
Offset Points
- Variable:
- Curve Attractor:
- Magnitude: 10
Artifact 3

ITERATION 1
bottom of page